
This battery corrosion problem is a major cause of malfunctions in handheld battery powered calculators.
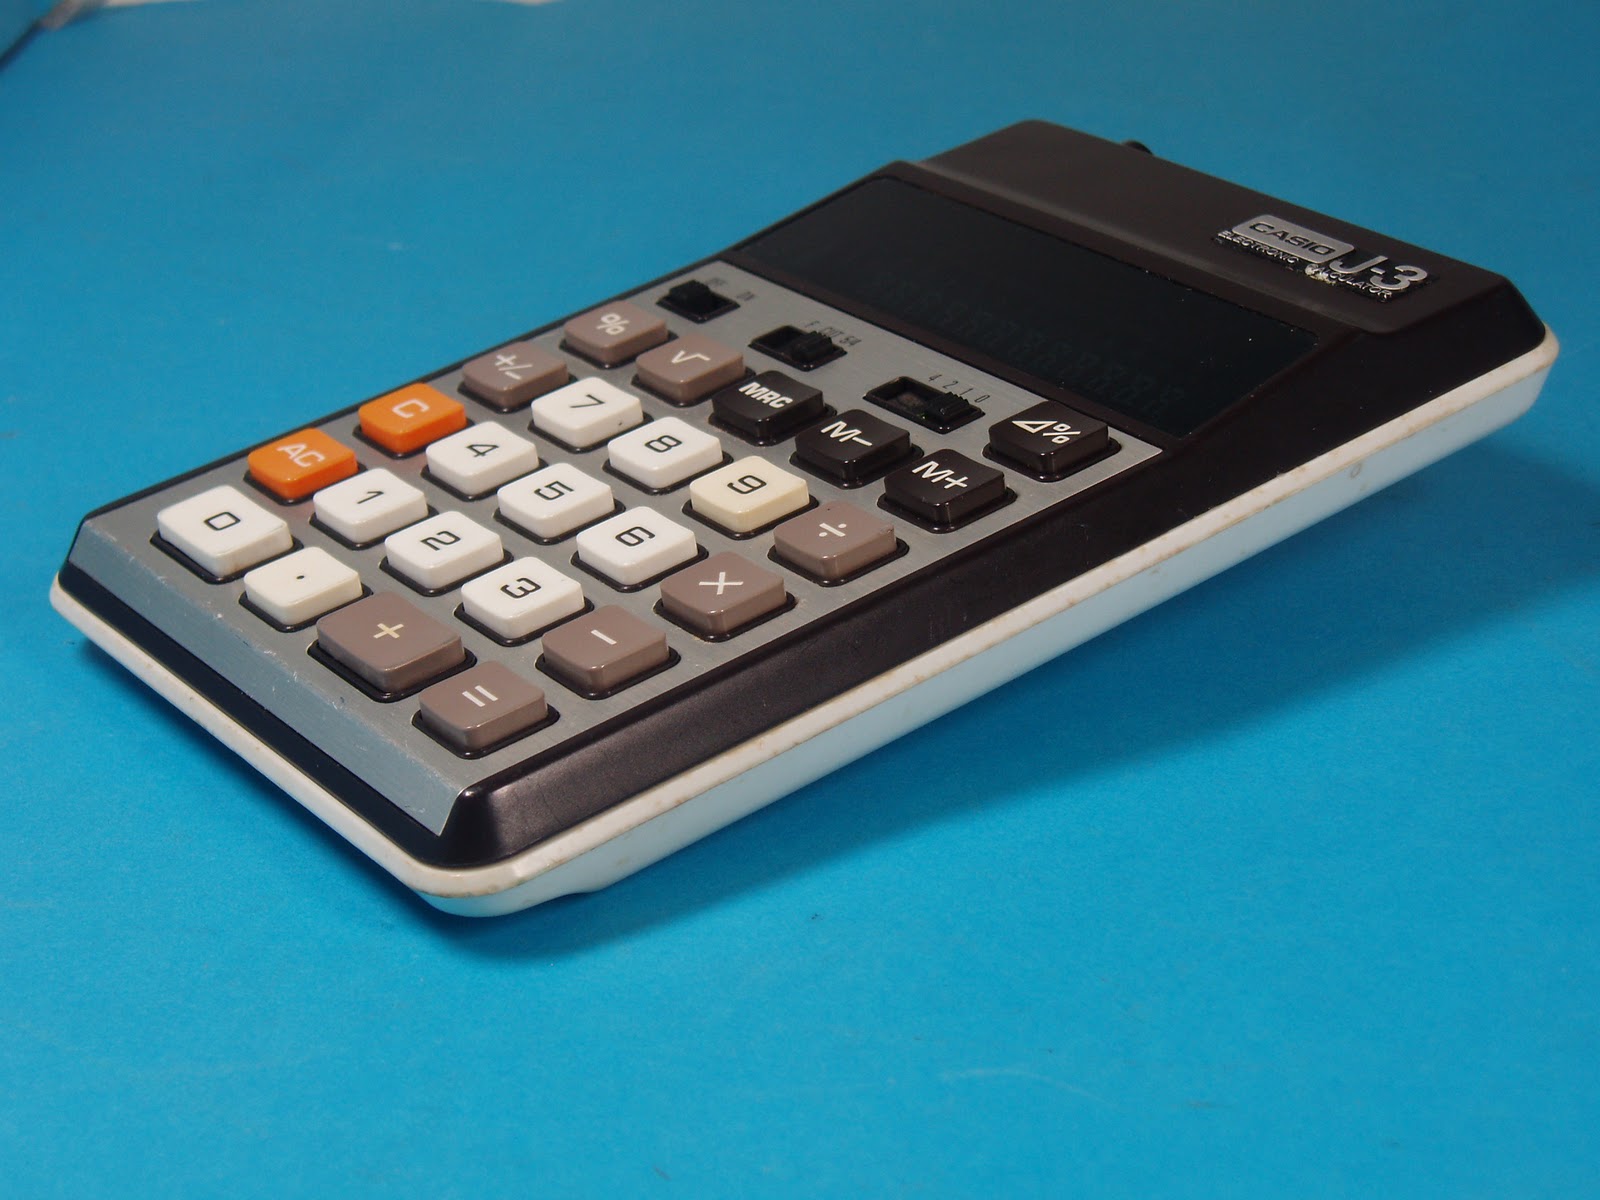
As this Casio J-3 Handheld Calculator is made in Japan around 1978, a spare parts is practically not available now. The calculator is still in good condition, it is clean and there are no cracks or visible scratches anywhere.
I decides to clean and refurbished the battery contacts. I am going to just wire it up to use battery only bypassing the contacts the faulty DC input socket. This seems a neater solution since you dont want to be attached to a AC wall adapter when you are using the calculator. It is much better to use moderm rechargeable or disposable battery which have high capacity and relatively cheap. It is likely that the designers of the Casio J3 calculator envisage it to be use as a desktop calculator via a AC adapter.
The calculator is easily opened by removing 2 screws at the back, next use a flat flat screw driver to carefully and slowing pry open the case working from the battery end toward the other end.
The calculator perfectly after the refurbishment. A very good description of the Casio J3 with operating instructions can be found at http://www.vintage-technology.info/pages/calculators/casio/casioj3.htm.
Here is the repair process in pictures.


 |
| Electronic PCB Of The Casio J3 - Cleaned and with all components in good physical condition. |
 |
| The badly corroded positive batery terminal which is also part of the DC input socket. |


The orange positive wire is also corroeded.

A refurbished and ALMOST fully functional Casio J3. The divide key is completely dead. Need time to work on the keypad. Look out for details.


Repairing the conductive rubber pads of the keyboard.
Some keys has became non functional. This is because the conductive rubber pads for these keys has lost its conductivity. The is repair by having thin aluminium foil wrapped round the affected pads. This work very well. Other alternative would be conductive ink, but I do not have this at my disposable.


Thin aluminium foil wrapped aorund the conductive rubber pads
which has became non conductive due to age.
which has became non conductive due to age.

 |
| The DC input jack has been rewired because of corrosion. It now does not accept DC input. |

The Casio J3 uses a Hitachi calculator chip, testimony to the fact that Casio is not a big industrial giant, but a niche manufacturer focus on making good quality office equipment.
ReplyDeleteIn this example, the battery contacts are made of brass and coated with silver. This did not survive the battery corrosion, but make it easy to polish off the corrosion, leaving clean brass that is easy to coat with a new layer of solder.
Some calculators in the same period of different make use nickel iron for the battery contacts and this makes it difficult to repair due to rust as nickel-iron is hard to solder.
I have a J-3 in near mint condition. Unfortunately when I turn it on, it shows 4 digits (4 zeros). When I press any key, all 4 zeros change into the number I pressed. Also when I continue pressing buttons, the display gets brighter with every key press, to a point...
DeleteAny idea what might have caused this and can it be repaired?
I opened it up and all components look very good - no visible signs of cold solder or corrosion...
I want sell my old 'ON' condition Casio J-3 electronic calculator.
ReplyDelete